Background check – a new series for Feb 2017 and a giveaway!
- varadasharma
- Feb 7, 2017
- 3 min read
Hello peeps!! I have something exciting to share with you all today. From this month onwards, we will focus on a theme for the month. All month long I will share multiple cards with tips and tricks for getting more out of your supplies. These tips and tricks will range from some quite simple ones to some a little more involved, so there is something in it for everyone.
This month we will be focusing on Backgrounds!! I have lined up more than 10 cards, each one showing a way to make backgrounds special. So let’s get started.
When I get a new stamp or die set, my first reaction is to stamp the image, color it and/or die cut it. Just play with it. And then comes the million dollar question of how to create a card with it? What should I do so that the beautiful thing I just created has a great background to sit on? So this month, I am going to explore several different ways to create backgrounds for our focal points.
Ready? Here’s the first idea – very simple yet classic. Create card base with paper that has some soft design on it. Take for instance the Neenah Desert Storm heavy weight card stock. This one has some very subtle design that adds enough interest on the background while enhancing the focal point on this card:

With this beautiful paper, I worked directly on the card base letting the paper work for itself. First, I cut out a panel from the patterned paper set and gave it some decorative corners. I also cut out a couple sentiment stripes and gave them banner tails. I adhered the main panel with foam tape and the banners with non-dimensional scor tape.
To create an anchor for my focal point, I added a couple more stripes across the bottom. Repeating the images from my focal point in smaller scale gave a cohesive feel to the overall design of this card and the words “you are my cup o’tea!” added some pun :-)
A few sequins from the same card kit and this card was done! Although this kit is already sold out, I will link to individual supplies below.
Supplies list


More like this
Instead of card base, cut out a panel of the paper you want to use for background. Like you see in these cards:


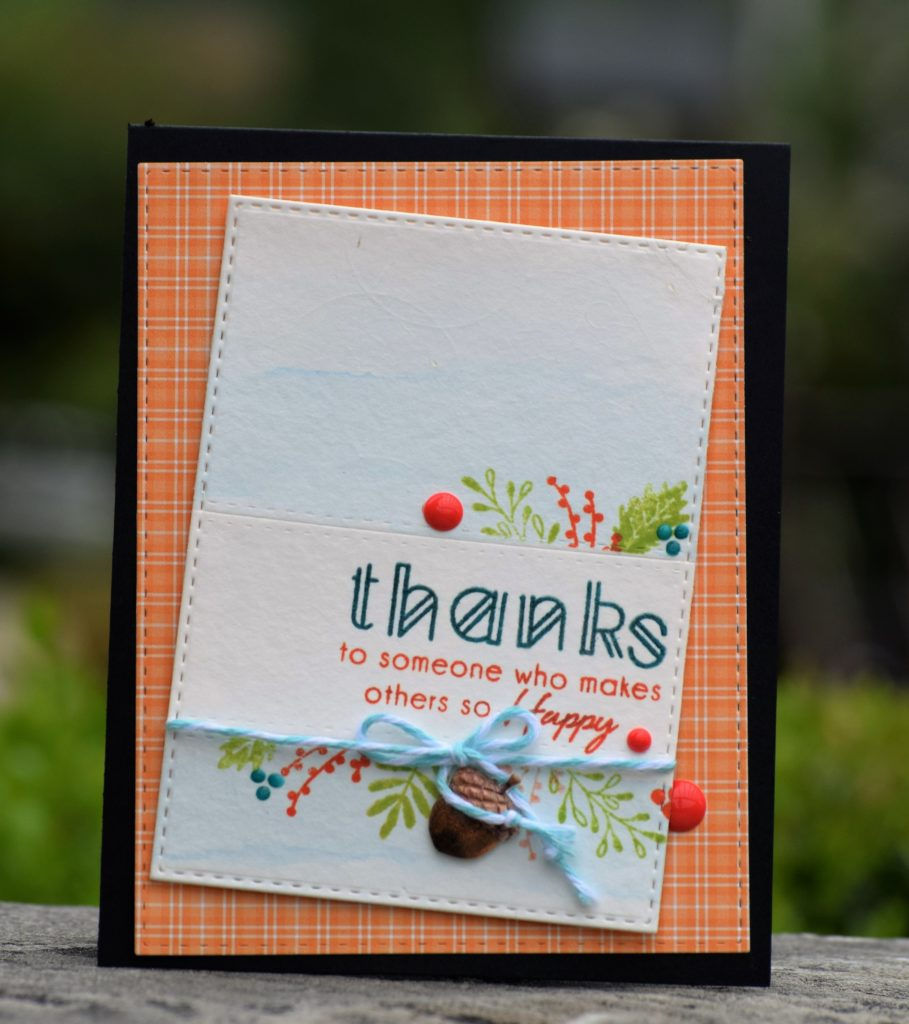
You can enhance the pattern on the paper with some stamping like I did with this one

Layer the panels asymmetrically and show only a little bit of the pattern through

Giveaway
This month onwards, I will be hosting giveaways! I am so excited that I am finally doing this. In addition to sharing my ideas for paper crafting, now I can also enable someone to try something creative. Feeling grateful and blessed!
So, how would you like to win a $20 gift card to a craft store of your choice? For your chance, leave a comment here by 11:59pm CST on 2/28/2017 telling me if you like tea or coffee. :-) (The winner’s name will be randomly selected and emailed after the giveaway closes. International folks are eligible, too!)
Please do spread the word about this for me, will ya!
Big hugs, you guys!! ~Varada


Comments