Background check – faux embossed look using die cut words
- varadasharma
- Feb 27, 2017
- 3 min read
Hello there! Are you ready for the next episode of #vsbackgroundcheck ? Well, today’s idea is slightly on the advanced side, but don’t worry. It’s easy once you understand how it is done… :-)
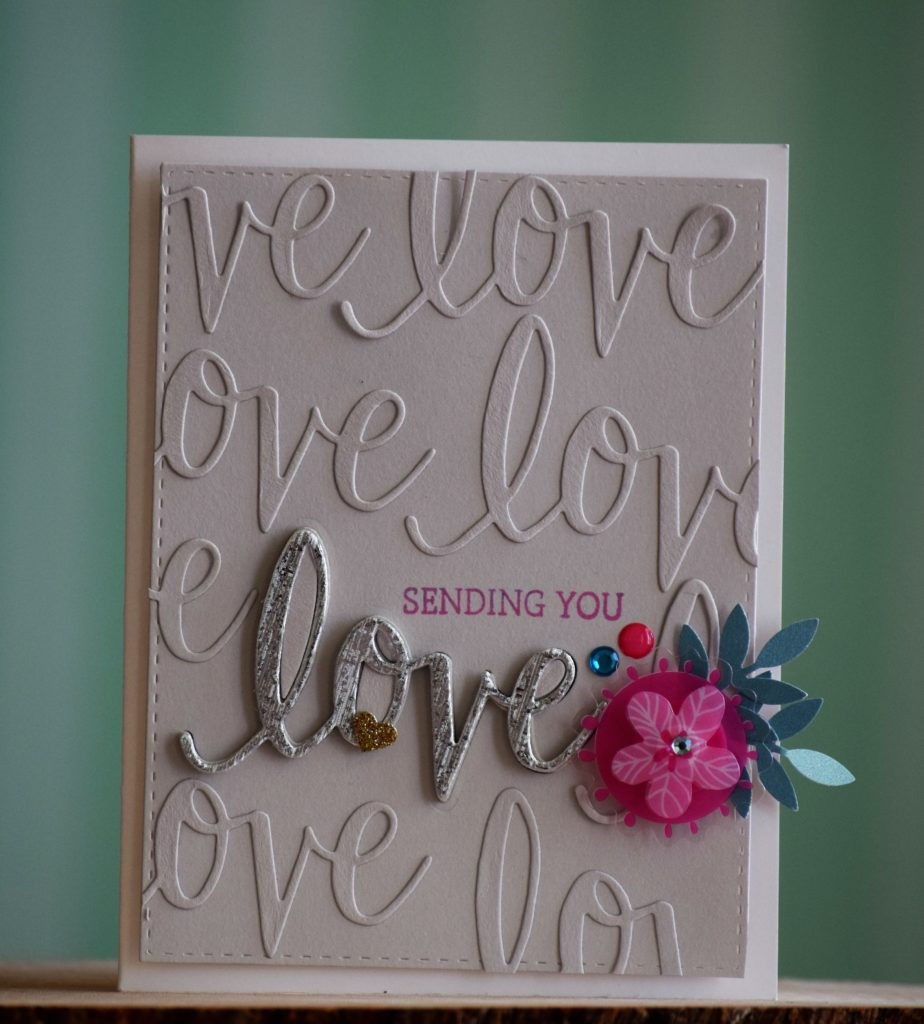
The idea is to adhere several die cut words (or even die cut shapes) over and over, ideally using the same color as the background, to create a faux embossed look. Like I did with this card:

Die cutting
I started by die cutting the word ‘love’ from Neenah gray cardstock. I cut out 7 of them.
Then I cut a panel from the same cardstock using SSS stitched rectangle die. From my panel, I also cut out one more “love” word, which probably I need not have, because I added foam die cut on top anyways. But oh well :-)
I also die cut same word two more times – one from silver cardstock and another from fun foam.
Assembling the card
Then I started working on my rectangle panel and adhered the word love over and over. I started with the one next to where I wanted by focal point. From there, I adhered the words next to each other, kinda randomly.
Once all the words were adhered, I turned the panel over and trimmed off the excess pieces / letters from the sides. I also used MISTI and stamped the words “Sending you” near to my focal point area.
Next I adhered the panel to a fun foam rectangle. I had die cut the word from my panel itself, so I needed a base to attach my focal point. The fun foam panel provided this base as well as helped give a consistent raised level to the entire panel.
For my focal point, I attached my silver cardstock word to the fun foam word and added these two the main panel. On top of the letter ‘o’, I attached a gold heart for a fun look. I also added the small negative pieces like the inside part of ‘o’ to this focal point. A flower sticker from my stash, a couple punched out leaves and two enamel dots completed this card.

Tips:
Here I used a word and adhered it multiple times. The same can be done with die cut shapes too. Leaves or feathers for example, could work great. Even coffee / tea cups.
Instead of covering the entire front panel, doing it partially and covering only one side / corner would look good too.
Supplies list
I am sharing links to the supplies I’ve used for these cards – click on the picture or link to go directly to the product. Wherever available, I have used affiliate links, which means when you make a purchase, I receive a small commission (at no extra cost to you) which I use to run this blog. I truly appreciate your support!


Giveaway
This month onwards, I am hosting giveaways! To win a $20 gift card to a craft store of your choice, leave a comment here by 11:59pm CST on 2/28/2017. (The winner’s name will be randomly selected and emailed after the giveaway closes. International folks are eligible, too!)
Please do spread the word about this for me. If you post about this on social media, please use the tag #vsbackgroundcheck
Pin this
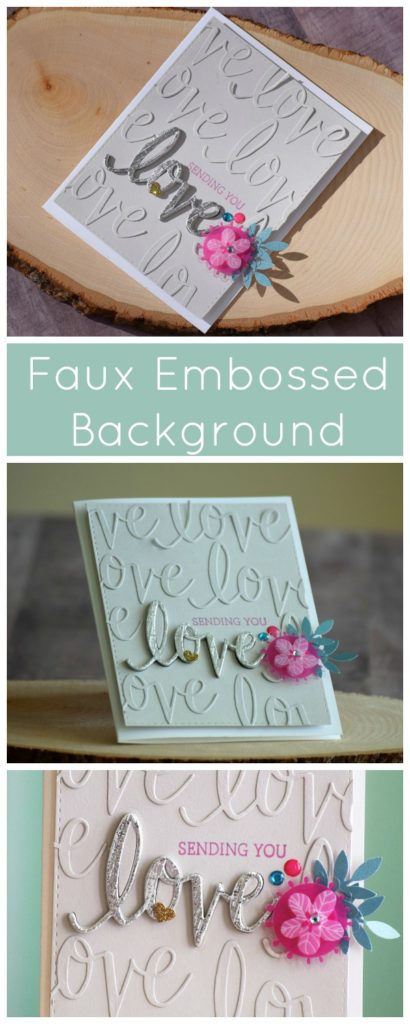
Some more project photos, so you can pin these and come to it later. I’d love it, if you pinned and dropped by on Pinterest…

Big thank you and warm hugs! ~Varada


Comments