Background check – Ink Blending
- varadasharma
- Feb 18, 2017
- 3 min read
Happy Saturday, my crafty friends!! I am back with my next idea for backgrounds. Idea #6 is to ink blend. My favorite ink blender in the whole world is Laura Bassen. You should go look at her creations. She is the queen of rainbow colors!!
By the way, if you are new here, welcome!! :-) This month we are exploring ways to create great backgrounds for our card focal point. You can check out the earlier posts in this series by clicking here.
Here’s my card for today:

I started by cutting out pieces of patterned paper that I wanted to put together on this card. I mounted my sentiment on the central square piece and rounded corners on both of these to create my focal point. I also added a generous amount of shine on top using my wink of stella pen clear glitter pen.
Next I took my white card base and ink blended in the center area with distress ink, added my focal point as well as the side strip. To finish off the card, I added some glossy hearts, a couple enamel dot. I also repeat stamped some blue hearts using some distress ink and layered glossy accents on top to bring more blue into this design.

Supplies List
Most of the supplies for this card came from Simon Says Stamp Feb 2017 card kit. You can subscribe to this (no obligation) card kit of the month program for $24.95 plus shipping and handling. Kits can also be purchased individually at Simon Says Stamp store for $29.95 plus Shipping and Handling. And you can also buy many of the elements of the kit separately.
This particular Simon Says Stamp card kit was sold out. But for your convenience, I am sharing links to the supplies I’ve used for these cards – click on the picture or link to go directly to the product. Wherever available, I have used affiliate links, which means when you make a purchase, I receive a small commission (at no extra cost to you) which I use to run this blog. I truly appreciate your support!


More like this:
Here are more ideas using this technique:
For the card below, I used a stencil to ink blend through it and get a pattern

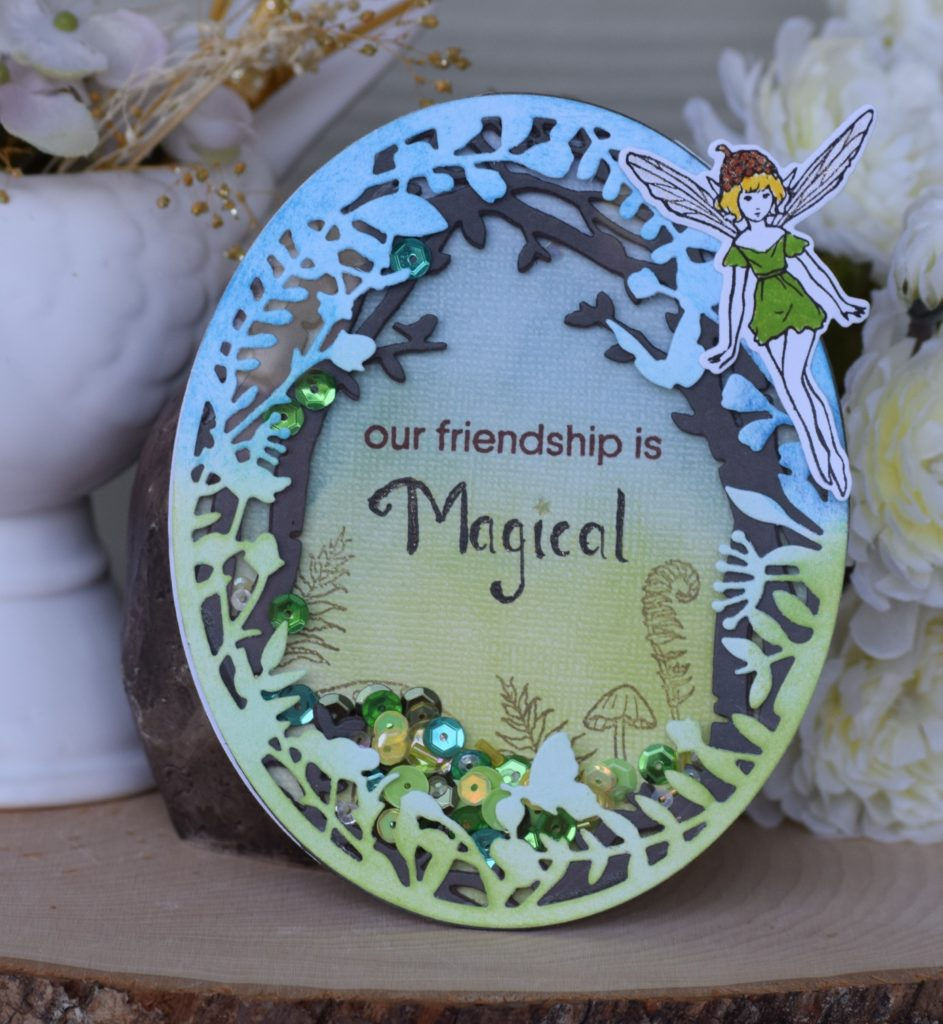
On this one, I used textured card stock for my card base on which I ink blended to get a fun background for my shaker.
On this one, I again ink blended on textured paper, stamped tiny dots with the same color and also added tiny individual pieces of Martha Stewart iridescent hearts glitter on the ink blended area to up the game ;-)

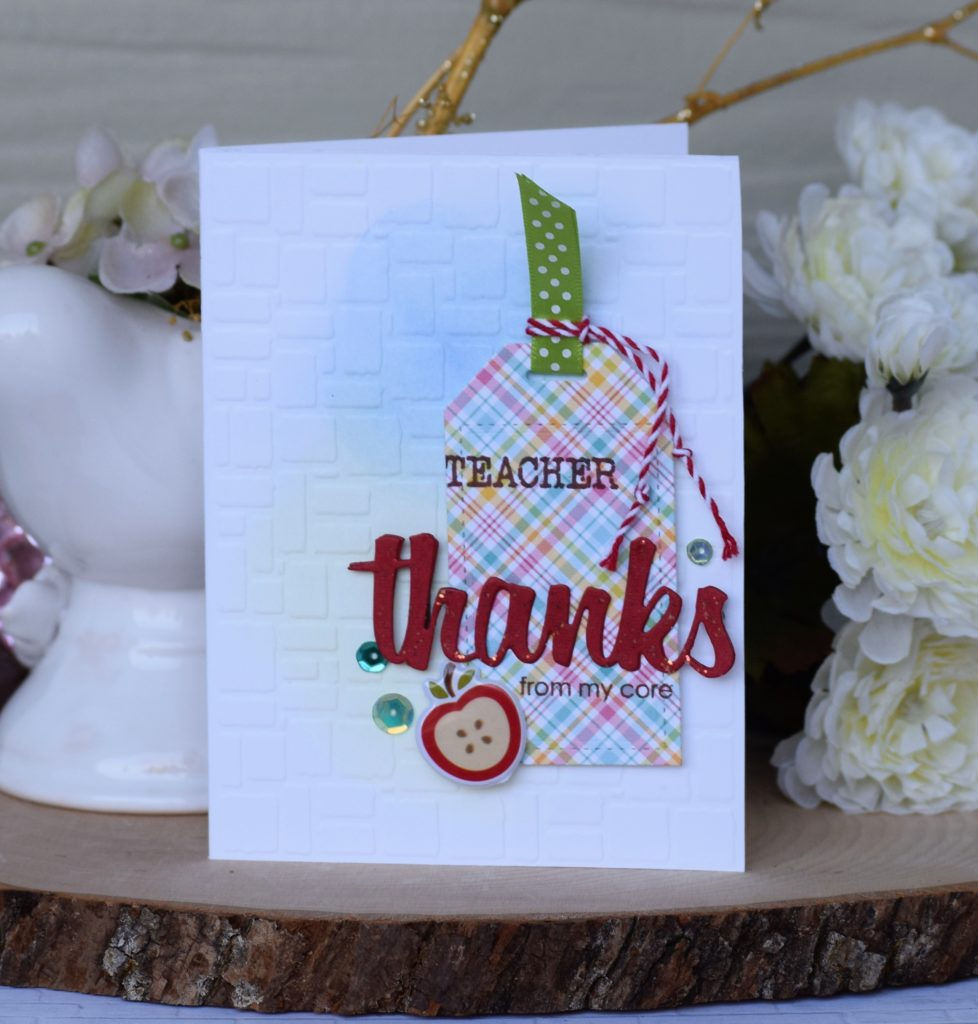
On this below, I combined ink blending with using a embossing folder. That’s the fun about these techniques – on their own they are beautiful. Combined they are even better.
Giveaway
This month onwards, I will be hosting giveaways! To win a $20 gift card to a craft store of your choice, leave a comment here by 11:59pm CST on 2/28/2017 telling me which two techniques you like to combine :-) (The winner’s name will be randomly selected and emailed after the giveaway closes. International folks are eligible, too!)
Please do spread the word about this for me. If you post about this on social media, please use the tag #vsbackgroundcheck
Big thank you and warm hugs! ~Varada


Comments